Simple dowel joining of boards. We've got a couple of tricks to show you!
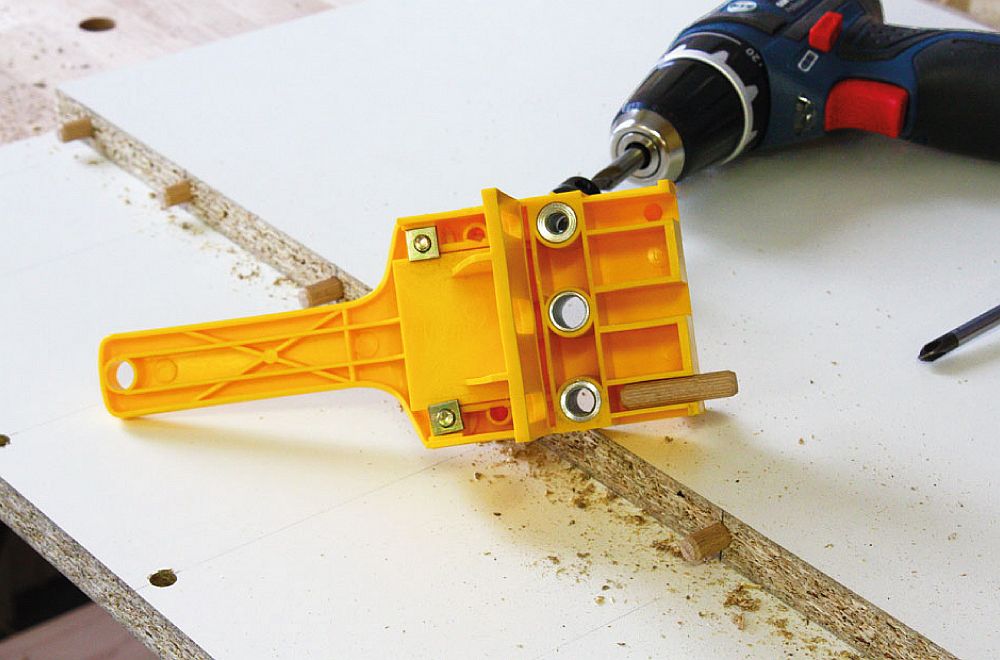
Are you hungry for more information about joining of furniture panels? Do you need to repair an old cabinet or remake a new one? We will give you advice on how to create a dowel joint using a simple dowelling jig which will cost you almost no money and is really easy to work with.
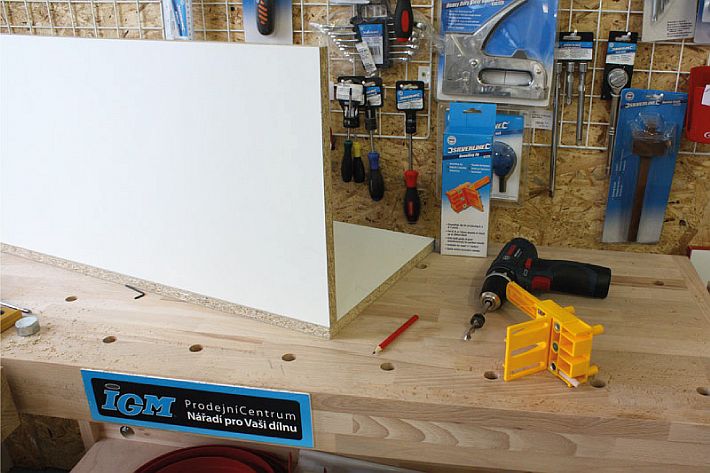
For our joint production, we have chosen a basic jig for only about 300 CZK (10€), which you can easily order at www.igmtools.com or inspect in person at our IGM Customer Centers or purchase one from IGM Dealers.
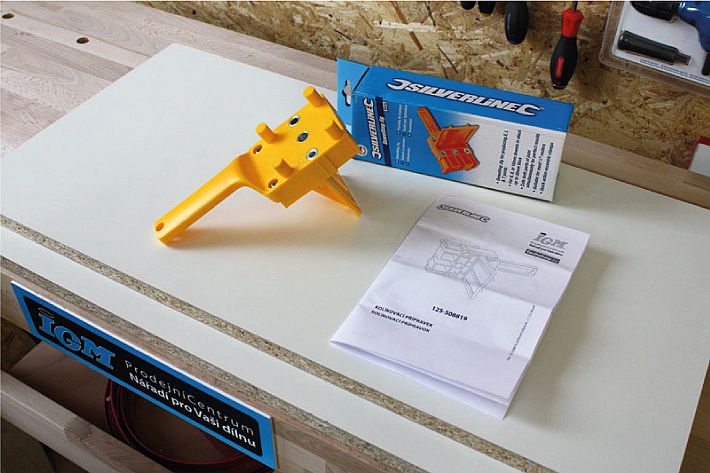
1. Package contents
The Dowel jig supplied by IGM tools and machinery co. comes with a clear instruction manual. The Jig is made out of hard plastic and features hardened drilling holes moulded into the plastic body of the jig. The Jig allows to joint pieces with dowels 6, 8 and 10 mm in diameter. The jig features three openings of these diameters.
2. How to use the Jig
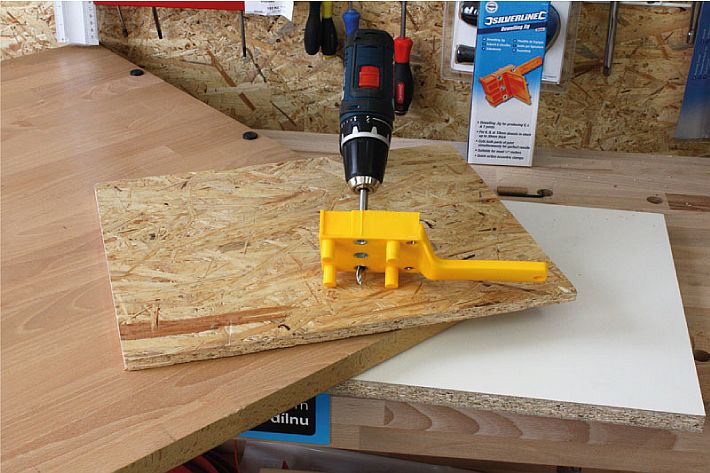
Use the IGM Fachmann jig to joint chipboard and laminated boards, planks, boards and wood-based material of 10 to 30 mm.
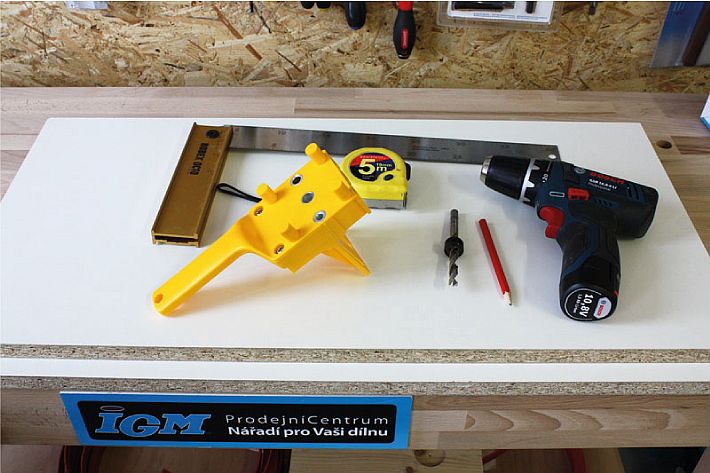
3. Necessary accessories for dowelling
You will need to use the following with the jig: dowel pins, a sharp pencil, a square, a tape measure for spacing out the pitch of the pins, you will also need a drill or a cordless drill and dowel drills fitted with depth stop for proper setup. You will also need some glue and clamps to finish up your joint. A simple clamp will come in handy when securing the workpiece.
4. Marking off the hole centres
Place both pieces on top of each other, match the front and mark out the centres for dowel pins on the bottom workpiece. We recommend placing the first dowel at least 27 mm from the front and back. The distance between the pins is arbitrary. Remember that long distance between the pins usually means your joint won't be strong enough. We recommend creating a distance of 65-100 mm. This will ensure a firm joint.
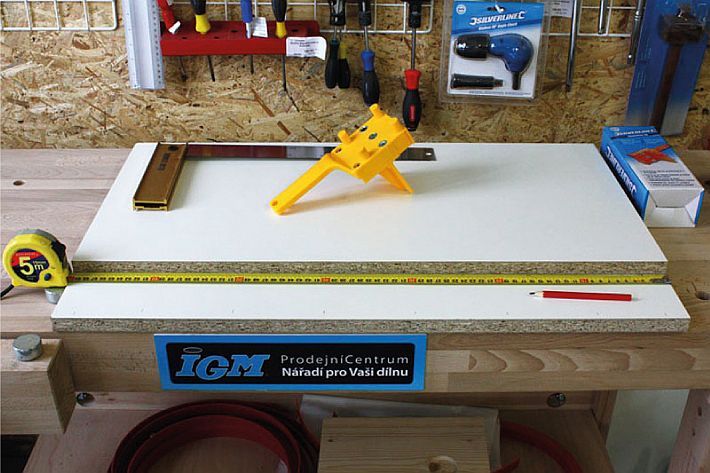
5. Copying the measurements onto the second piece
Mark out the pin holes onto the second piece using a square to properly set up the jig. Workpiece drilled in the face grain should have marks on the face and similarly, the end grain should have marks on the end of the wood.
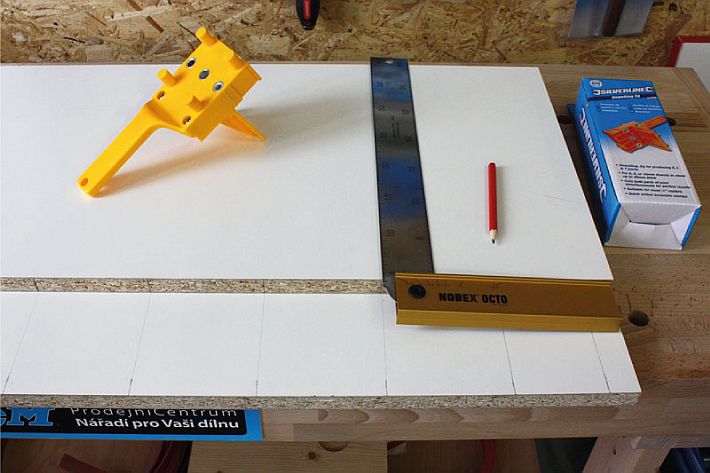
6. Pin size - deciding on the drilled depth
Measure the total pin length and decide on the depth of drilling into the end and face grain. For this part, we have used 35 mm long and 18 mm thick pins. We drilled a 15 mm deep hole into face and 22 mm deep into the end grain. Always leave a 2mm space for some glue, this means 15 mm to face + 20 mm into the end + 2 mm space for glue.
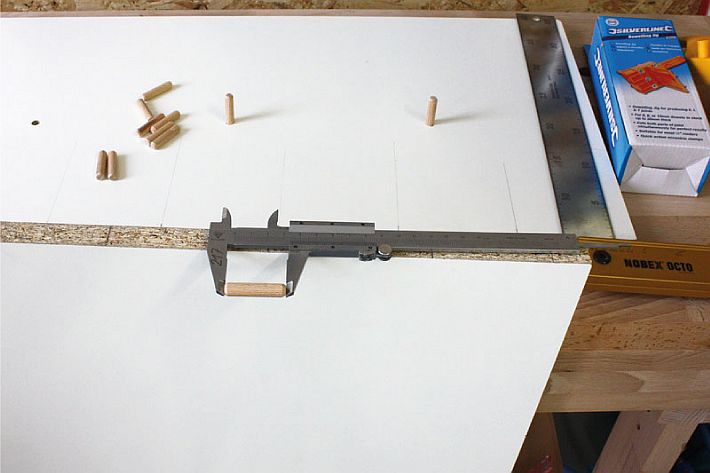
7. Depth setting
Place the jig onto the workpiece, insert the drill into the sleeve until the drill hits the piece. The drilled depth equals the distance of the stop to the jig. Set up the height by moving the ring along the drill and secure it with a locking pin. Make sure to properly tighten the depth stop to prevent its travel which would alter the drilled depth.
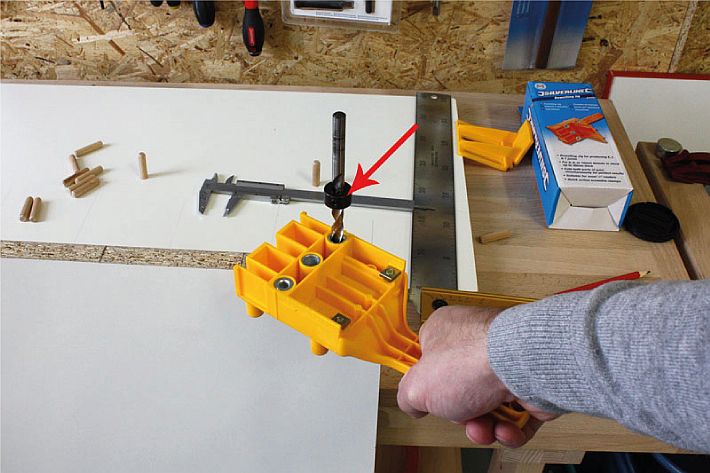
8. Setting up the jig for edge drilling
The proper hole placement onto the centre of the piece and accurate set up of the distance of the pins are the most important fundamentals when drilling into the edge.
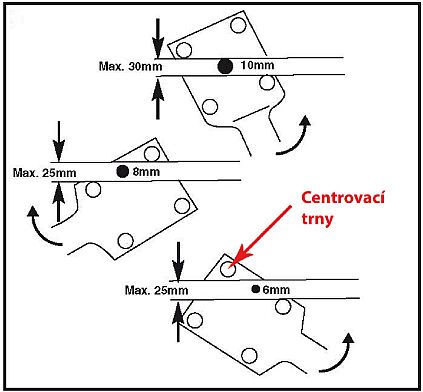
Place the jig onto the edge the right way to drill out a chosen diameter (as shown in the picture). Set up a proper centre by using centring studs and by rotating the handle the right way. Follow the marked out distance between the dowels and always position your jig so the mark is in the middle.
9. Drilling into the edge
Insert the drill into the hardened bushings and drill out the pinhole.
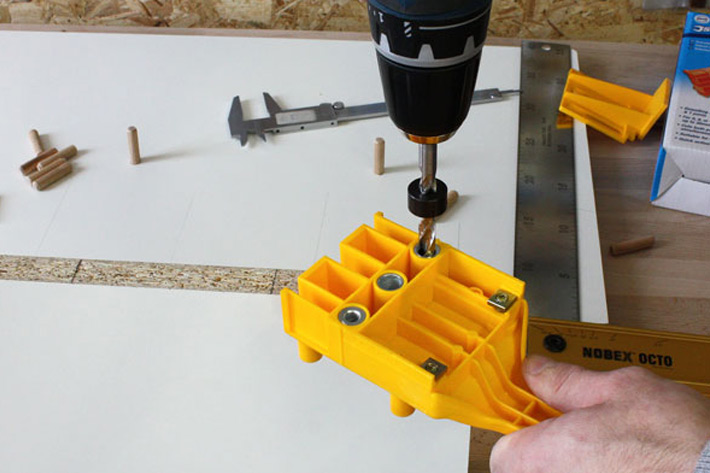
Proceed and drill out the retaining pin holes all the same.
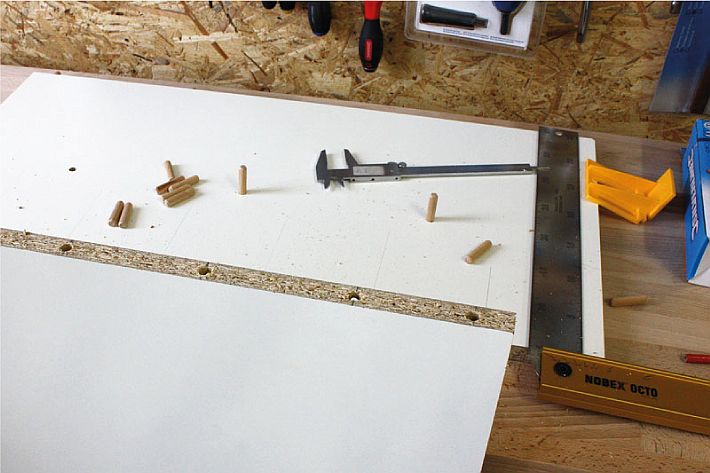
TIP: use a dowel drill with a centre tip and scoring for simpler drilling. For a wider selection of dowel drills visit www.igmtools.com.
10. Setting up the jig for face drilling
Fit the jig with a side stop and set the distance of drilling from the edge of the piece.
For simple set up, insert one pin into the hole in the edge and place the jig opening of a similar diameter over it. Press the side stop to the piece and tighten the fastening screws.
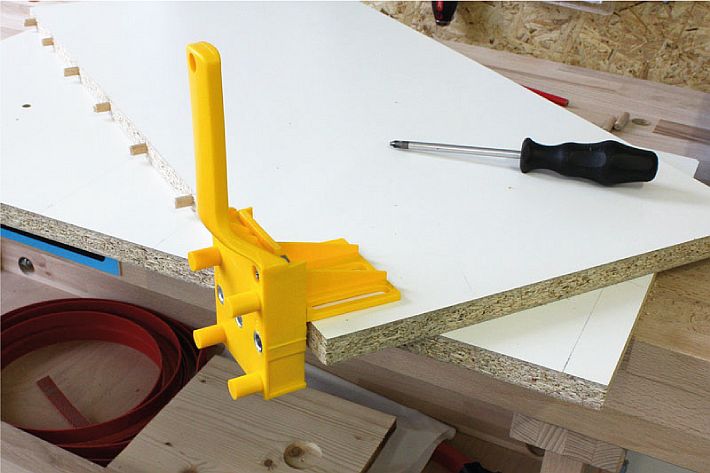
11. Drilling into the face

Use the depth stop to set up the depth of 15 mm and drill out the holes. The side stop secures the right distance from the side. The centring of pins is guided by the marked out guideline. Apply this procedure for all other pins.
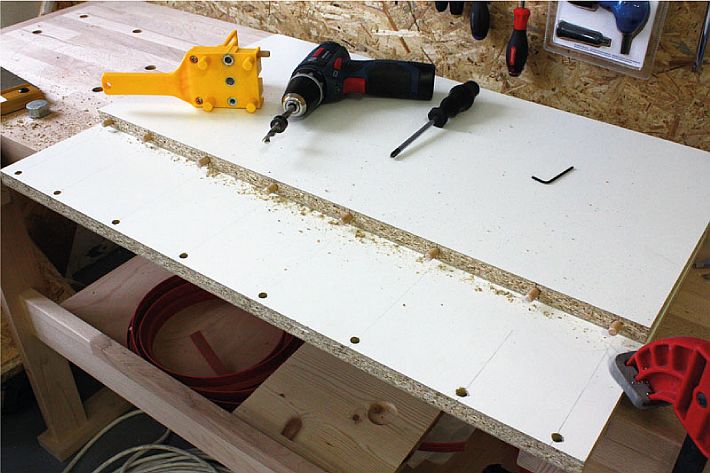
TIP: Place the drill into a sleeve and mark out a place for the centre according to it, this is a simpler way of adjusting corners.

12. Workpiece assembly
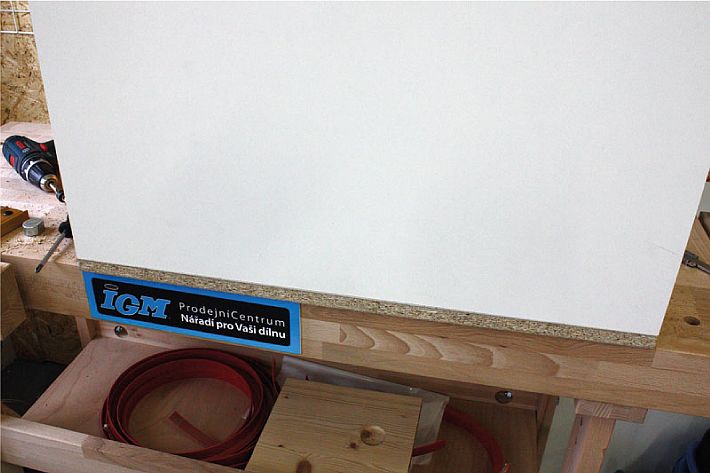
If you were careful enough throughout the work it should be simple to join the two pieces. You can simply chip off a pin in the case a hole is out of place.
13. Glueing of pins
Use dispersion adhesive to properly glue the joint. You can also use a dispersion waterproof adhesive. Based on our experience, we recommend using Titebond glues. They are adhesives providing unique bonding strength without shrinking, similarly to PVA glues.

Firstly, glue the pins to the edge. Then, apply glue to the holes of the face and place the pieces together.
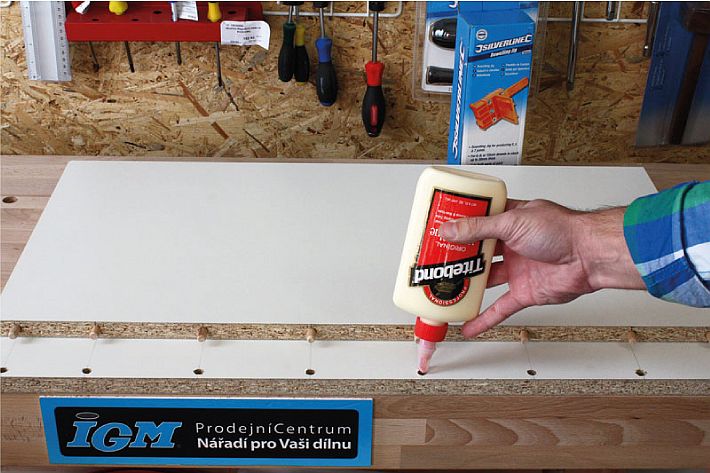
14. Tightening of the joint
After putting the pieces together tighten them up with some clamps to ensure a proper close bond. You should leave the joint clamped for approximately 20 minutes for a proper bond.
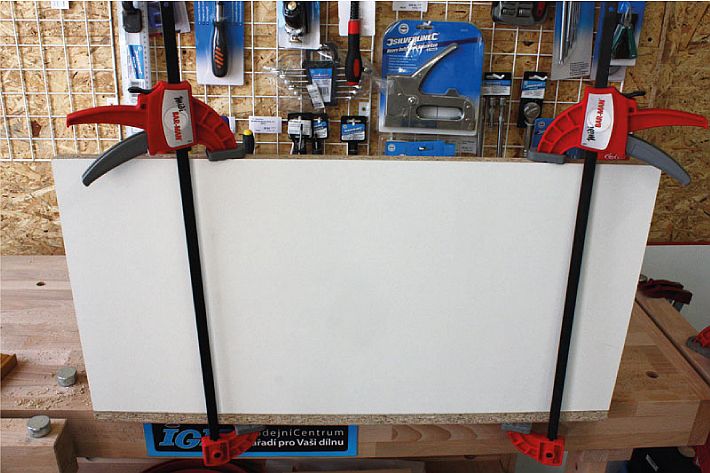
15. Evaluation of the jig
Work with the jig is simple and is not difficult at all. The jig is affordable and may be used even by someone new to woodworking. The only thing to watch out for is proper centring.
The jig is ideal for a low number of joints, should you decide, however, to dowel regularly, we recommend getting a product of a higher level.
The product is recommended especially for hobby woodworkers.
16. TIP for a better looking joint
For a better looking and more professional joint, we recommend creating a small overlap on the joint. Meaning overlapping the top board to the sideboard. The overlap is usually 0,4 mm and gives off an aesthetic impression. You can set the size of the overlap when drilling, by setting the side stop on the jig to 11.
Place the material (thickness according to the desired overlap) between the board and the side stop. This will move the holes further from the edge.
17. Conclusion
We believe that you will appreciate the jig as well as the recommended procedure when selecting it and when working with it in your workshop.
To browse through other interesting tools and jigs, visit www.igmtools.com
Back to what's new