Step-by-step bowl and tray production
Bowls and platters make excellent gifts, and they’re a great way to use up scrap wood. There’s no end to the different combinations of wood and shapes you can create with this kit. The more kinds of wood you use the more beatiful the final product.
Tool Requirements:
• Powerful router with a 12mm collet and adjustable speed
• 35mm Boring Bit
• Roundover Router Bit
• Drill press to simplify your work (not necessary)
• Soft disc sanding pads designed for bowl turning for sanding bowl interior
• Compass and a pencil
• Glue
• CMT Bowl and Tray kit, which includes a Bowl and Tray bit, collet extension and two bowl templates.
Step 1.
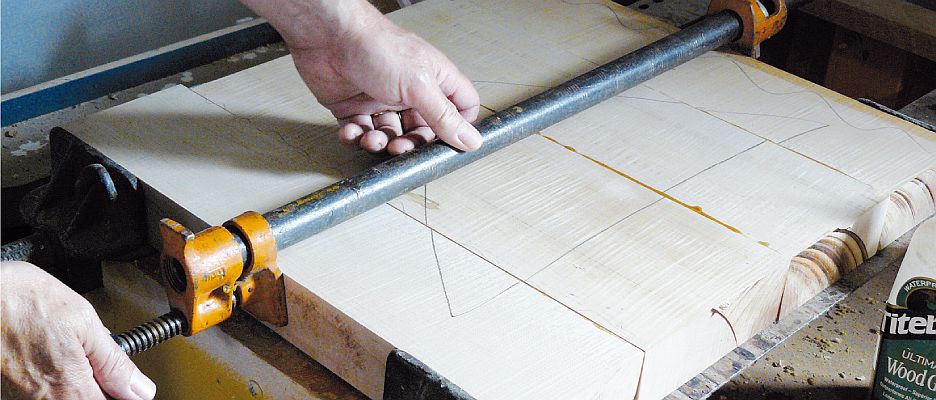
Glue up a bowl blank. You can mix different woods in your bowl blank. You can also experiment with grain direction. Make a 460x460mm blank to use with the round bowl template and a 380x590mm blank for the oval template. 25 to 45 mm thick boards are ideal, depends on the desired depth. Thick stock works best. Use your creativity when making the blank to create your own, unique product.
Step 2.
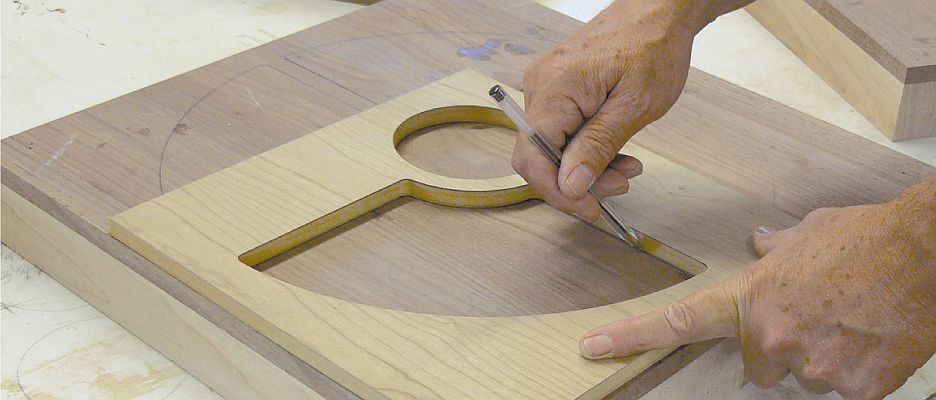
Lay out the bowl using the template. Centre the template on the blank and mark the first partition. Remove the template and make marks exactly 12,7mm from the edge of the first partition. It’s important to be exact in order to achieve a uniform thickness.
Step 3.
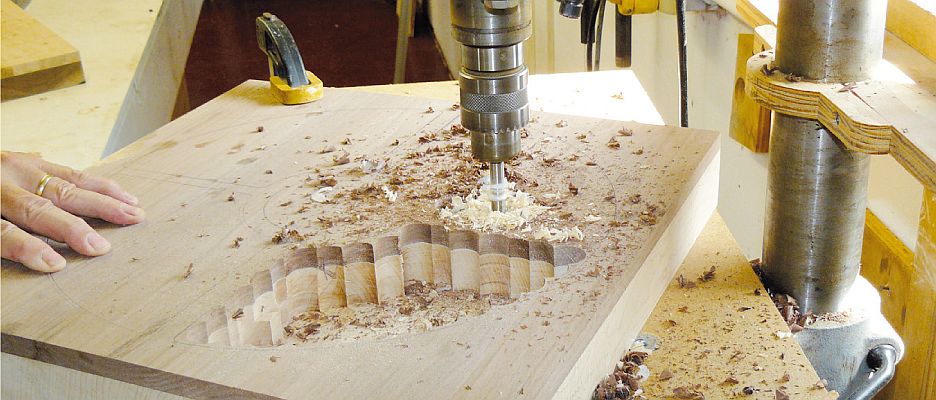
Use a Boring bit in a drill press to remove most of the wood. Boring bits do the best job because they can make overlapping cuts and leave a flat bottom. Set the depth of cut to stop short of the finished bottom so the router bit can clean up the dimples left by the centre point in the Boring Bit.
Step 4.
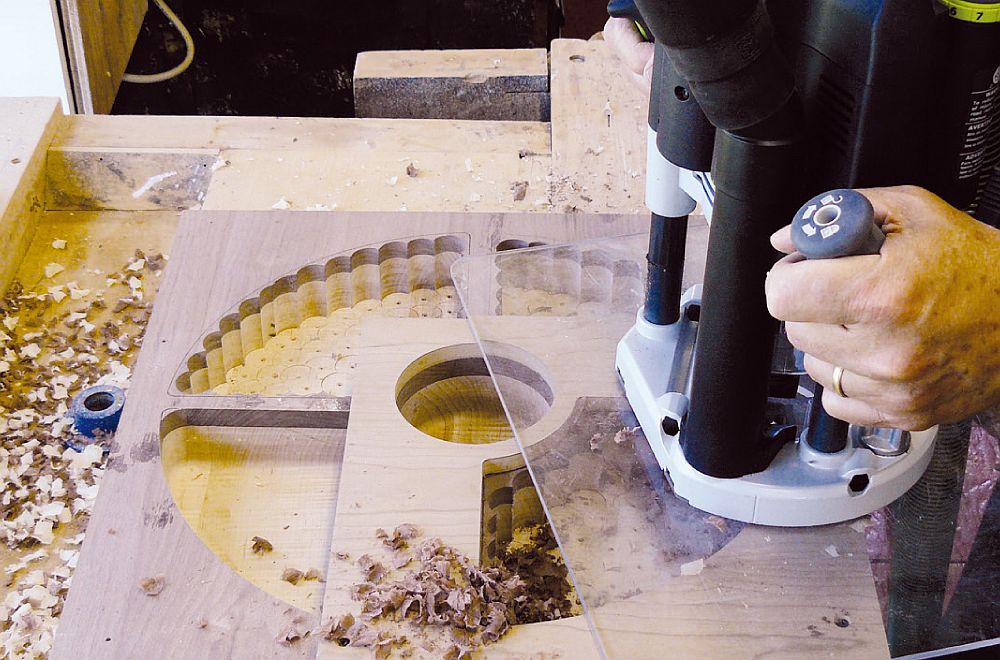
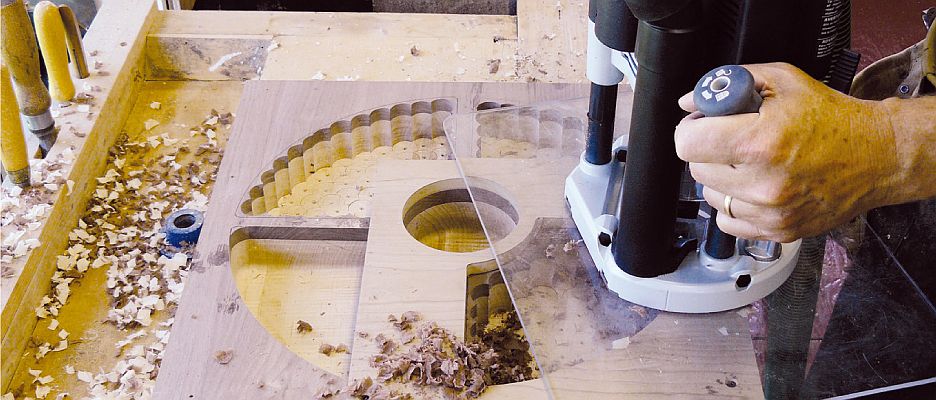
Now it’s time to move on to the router. First, make an extension router base plate that’s large enough to safely bridge the opening in the template. Next, assemble the collet extension, insert the bowl-cutting bit into the collet and tighten.
Step 5.
Mount the template on the blank so it lines up exactly with the previously drawn lines. Drill and countersink at least two holes in the template. Fasten the template onto the blank with flat head screws. Make sure the screw heads are set just below the surface of the template so they don’t interfere with the router.
Step 6.
Set the plunge router’s turret stop for a cut deep enough to finish the bottom of the bowl. Set the stop so the bit will plunge another 2 – 3mm beyond the drilled out bottom and remove the dimples left by the Boring bit’s centre point. Finally, be certain that at the top of the router’s travel the bearing on the router bit is riding on the template. This sets the router for the first pass. If your router has a dust collection attachment, be sure to use it.
Step 7.
Set the workpiece onto your worktable and place the router above one of the hollowed out areas. Make sure the cutter is not contacting the wood and turn on the router. Gently slide the router to the template edge and begin your cut. Then, lower the bit 9,5mm and make another pass. Eventually, the bearing on the bit will drop below the template and begin to register on the wall of the bowl itself. Keep making progressively deeper cuts until you reach the bottom of the bowl. Don’t worry about the slight ridges left by the router bit, these will clean up easily with a disk sander. Repeat this step on all other openings.
Step 8.
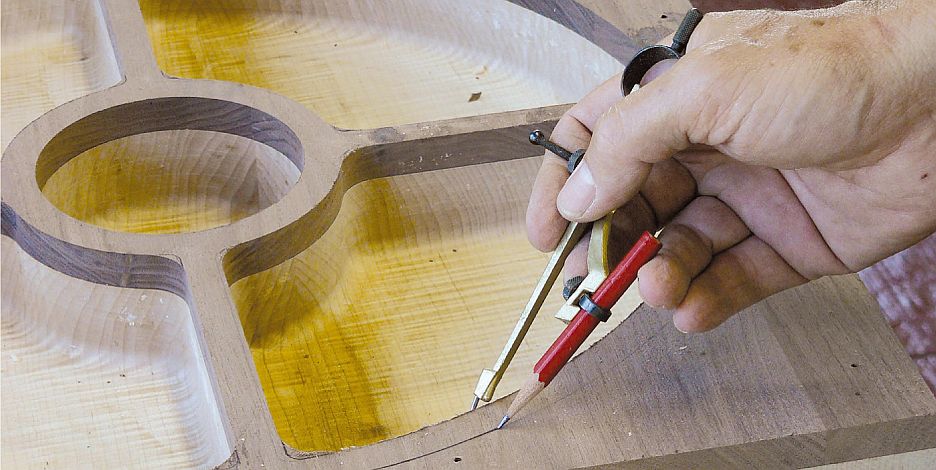
The next step is to lay out the outside wall of the bowl. Set a compass to mark a little over 12,7mm to allow for sanding. Hook the pivot point just inside the rim of the bowl and run the compass around the bowl. Always keep the line from the pencil point to the pivot point perpendicular to the rim. To bridge the gaps in the outline that occurs at the partitions, bend a thin piece of wood along the existing lines and pencil in the break.
Step 9.
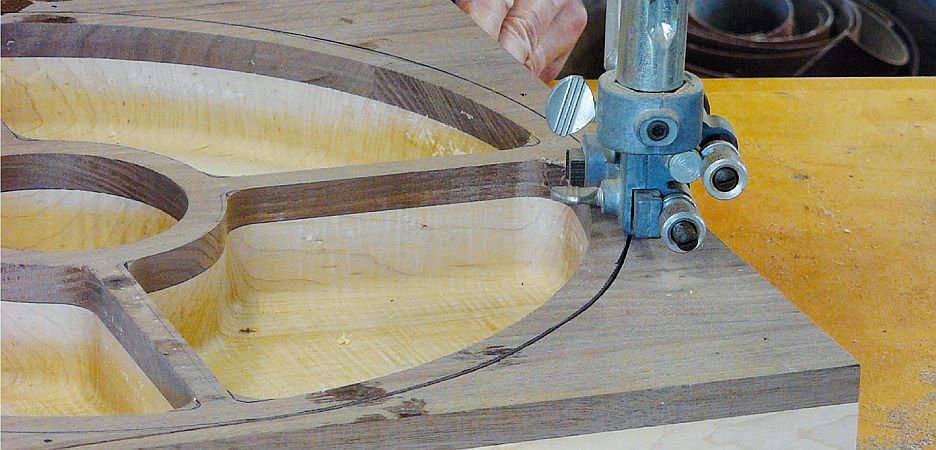
Take the blank to the bandsaw and cut off the excess stock. Take care to cut up to the layout line. Go slowly and do your best to make the cut smooth and accurate. It’ll save you a lot of sanding later.
Step 10.
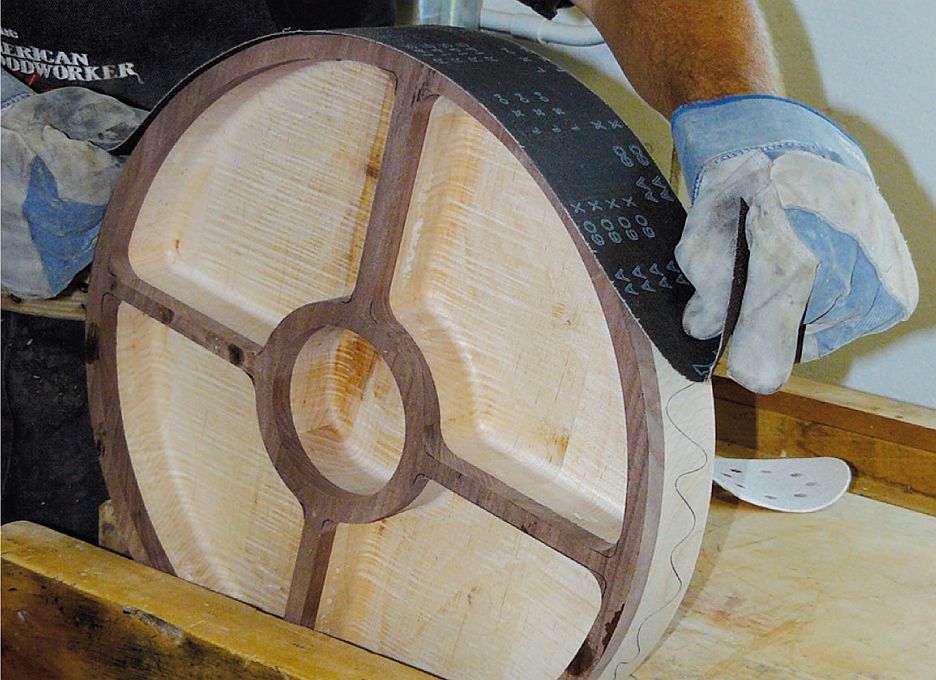
Clamp the bowl blank in a vise and sand the edge like a shoeshine polishes a shoe. An edge or disc sander will make quick work of this job but be careful; they can just as quickly cut a facet on the edge and ruin the piece.
Step 11.
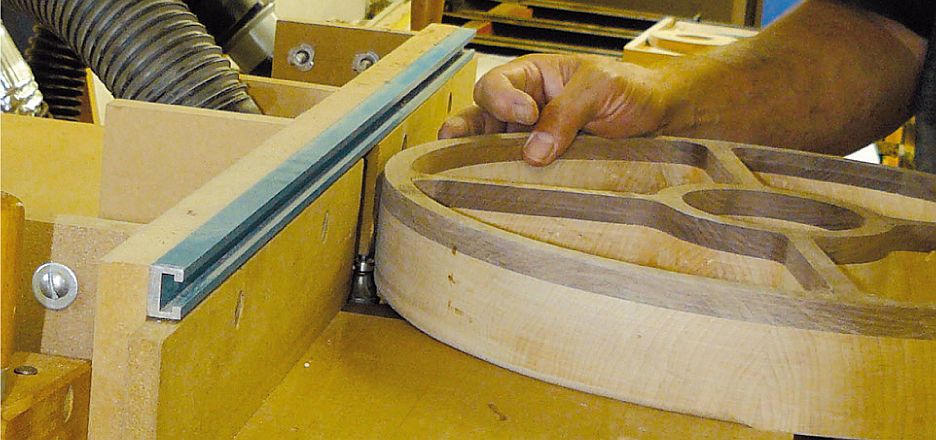
With the bowl sanded round and the band saw marks removed, head to the router table for some final shaping. Mount a 12,7mm round over bit in the router and round over the bottom edge of the bowl. To rout the top edges of the partitions, mount a 6,35mm round over bit in the table and round over the edges on the outside and inside the bowl.
Step 12.
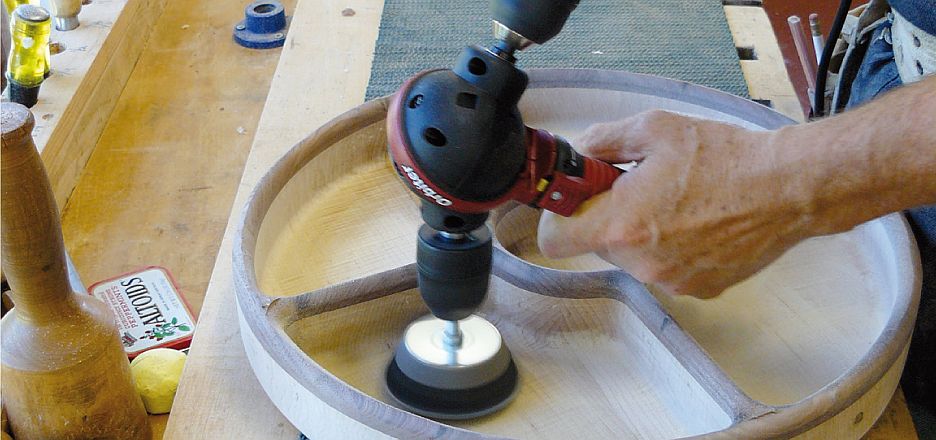
Sand the interior of the bowl using a soft disc. These discs are commonly used by lathe turners on lathe-turned bowl interiors. Start with 80-grit and work your way up to 220-grit. A great food-safe finish for wood is walnut oil. You’ll find it at most health food stores.
Back to what's new