Make various useful and fashionable household accessories with our wide range of woodworking tools and machinery.
Relax and have fun making these stylish shelves with our simple step by step guide.

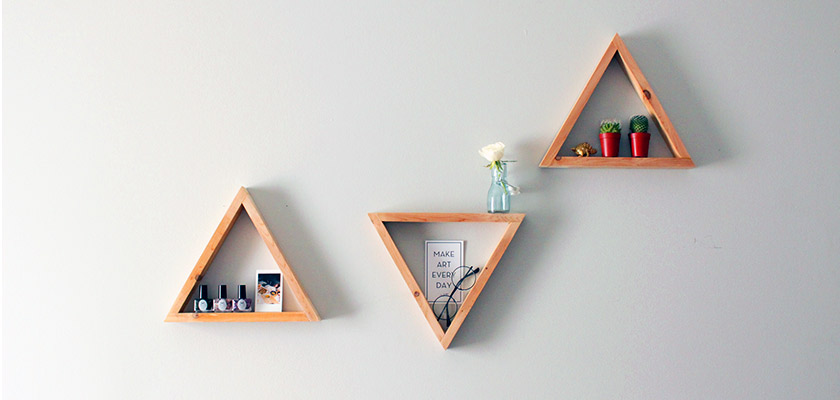
A wooden shelf in the shape of a triangle is an elegant accessory for your interior.
Tools needed
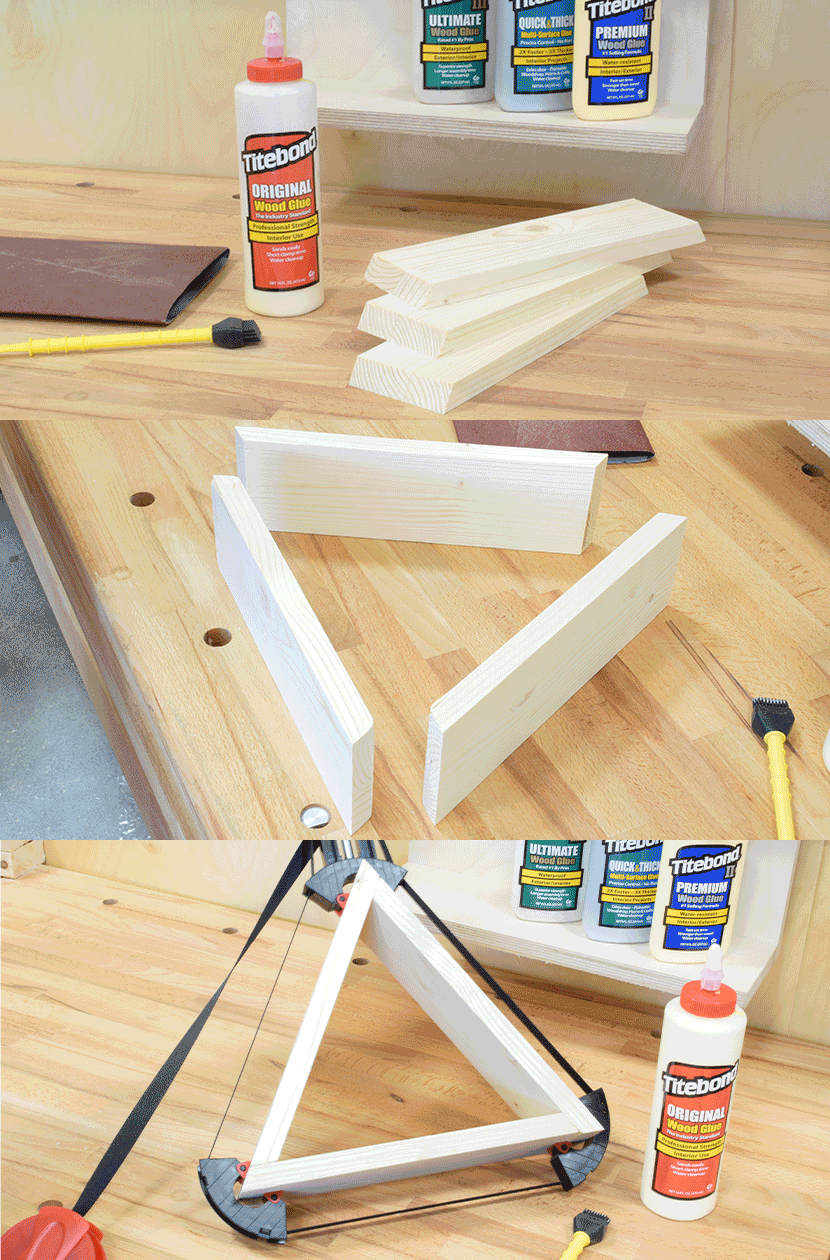
You will need mitre saw or handsaw, wood glue, frame clamp and sandpaper.
Material
The most available material is spruce board. However, you can choose even harder material, such as beech wood. The required length and width of the material depend on the size of the shelf.
First, determine the size of the shelf. We chose to make a shelf that is 200 mm long and 60 mm wide. In this case only one board 700 mm long, 60 mm wide and 20 mm thick will suffice.
How to make the shelf
1. Cut the parts at a 30° angle.
Making a mitre cut is the main act of the initial phase.
Cut the board into 3 pieces of the same length at a 30° angle. Remember, that one cut is the same for two sides – this means that only 4 cuts will be made in total. Mitre saw is the most suitable tool. You can effortlessly set the required 30° angle.
The cut can also be made with an ordinary handsaw. However, the result may not be as accurate. Angle measurer is recommended to set the exact angle.
2. Gluing the shelf
Prior to gluing, sand the inner sides (inner sides are more difficult to sand after gluing). Then apply the glue to the bevelled sides – the shelf joints. A wood glue brush is recommended to apply the glue smoothly and evenly. Once the glue has been applied, clamp the shelf joints together using the frame clamp - this will guarantee a firm grip. A stretch wrap can be used if needed.

3. Final phase
The last step is to sand the outer sides with fine sandpaper. Finishing may be carried out for example by applying wax, transparent or pigment coating.